Tuesday, July 15, 2014

Klark Critten

My cousin Klark has been working hard on pallet projects. Since I have been slacking on projects and blogging, I've decided to dedicate this post to Klarks hard work and his sweet pallet projects.

His first project for the week was a pallet wine shelf. Not only did he make one but he made two and they look fantastic!

They fit in so well with the theme of their dining room area, you would have thought he bought them somewhere!

His second pallet project for this week was a "Critten" sign ( his last name).


All of the pallets used for these projects were found in the junk pile, these are great examples of how to make somthing out of "junk"!  

Here is a link for more pallet projects http://livelaughrowe.com/25-diy-fabulous-pallet-projects/ . The blog is called Live Laugh Rowe and she does a fantastic job of gathering some great pallet project ideas. 


Monday, May 19, 2014

The Ultimate Man Cave

First off I am sure you are wondering, why in the world would we destroy an indoor pool?

The indoor pool would have been  awesome and some people pay big bucks to have an indoor pool; ours on the other hand would have cost us big bucks to keep and to maintain. The foundation was cracked, the heater did not work, it leaked into the basement, and it would cost us tons of money to upkeep or to fix. Constantly trying to maintain the large pool was just not something I wanted to do as a newlywed, nor was it something I was willing to pay big bucks for.

          Sorry,  I did not do a good job of taking pictures, guess that means I was working to hard!

This is when we decided it was time for Demolition.

There wasn't much we were going to have to do, but we did have to break the brick edge to level the floor. This would help anyone with their anger management. You wouldn't think that slamming a hammer as hard as you can, and watching the brick break off into a bunch of pieces would be that fun, but it was!


Once we chipped away all of the brick edge, and cleaned out the inside of the pool we started working on the false floor.  I know what you are thinking how in the world do you do that without the floor falling through  ( I thought this for the longest time). Luckily, I have an amazing dad who helped Nate and I work on the entire room, we are so very grateful for him because without him we might still be working on it! We put beams, floor joyces, every foot of the length of the pool. This is what would protect us from falling through.


Once we had the floor joyces in, we screwed plywood over them to create a bottom for the floor.


      As you can see the dogs make their way into the pictures because they wouldn't leave our sides while we were working. 

Once we got the pool area covered, it was time to paint!  This was a perfect opportunity for us to paint because All we had to do was cover the glass doors and windows and take off the trim. We decided to keep the trim that was already there, but repaint it a cleaner white. Since we were not concerned with the floor, because it was going to be covered, the men (my dad, Nate and my brother) sprayed on the new "Stratton Green" color.

I was away on a business trip and I left the paint up to Nate, I have absolutely no idea what the real name of the color is but he called it "Stratton Green". Stratton is his hometown and he wanted the color to match his school colors. I am glad he did because the color looks fantastic, and I will definitely let him pick out paint again. 

After the paint was applied and the trim was painted a flat white, we hung the trim back up.

The next big project in the room was a ceiling. We decided to put in a drop ceiling. Fairly easy to put in, just takes some time, patience, and an eye for straight lines (which Nate had)!


 The beginning stages of the ceiling my brother Kase and Nate screwing the side pieces to the wall.


All of the metal beams had been hung


Before adding in the tiles, Nate did some electrical work and put the lights in


 Putting in the white ceiling tiles 

Once we got the ceiling up we started to put in the floor. We ordered Laminate Wood floor from Lumber Liquidators. We had to drive to Kansas City to pick it up but it was nice to spend some quality time with Nate in the car. 


My dad and Nate working hard to put in the floor. 


Once we got an area done Becker decided that was her spot

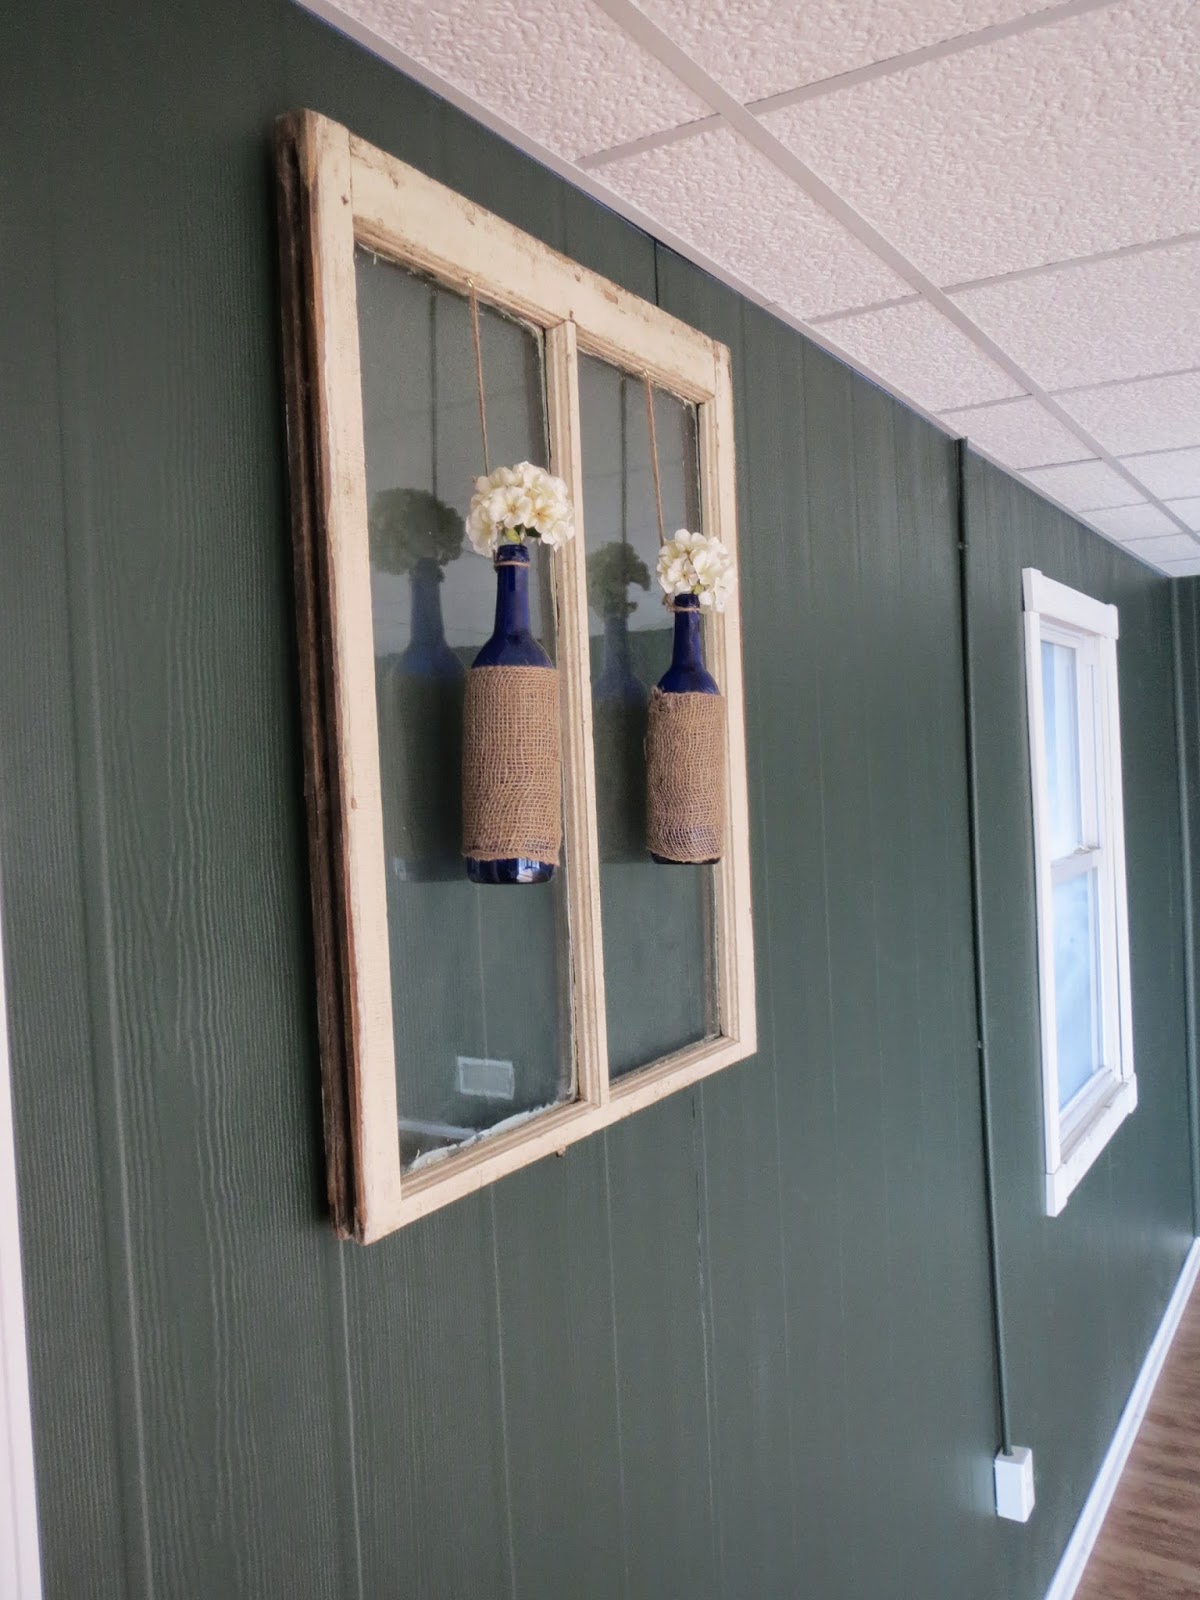
The floor took us a couple days to get finished, then Nate had to add some outlets around the room. I was so amazed by how easy it was. He hid the electrical wires with metal pipe, then I painted it green to match the walls. You can hardly tell, and it give the long wall some spacing. 


It looks so much better with the outlets. 

We are still working on the man cave to make it homier, looking to add some seating, a shuffle board, a bar area, and of course the most important item  a TV.  Not only is this important for Nate to watch all of his games out in the man cave but it will be nice for me to be able to sit in our living room and NOT watch basketball for a month straight. 


It looks pretty bare but keep checking in for more pictures updating the Man Cave!

If you can think something cool or a DIY project I could make for the Ultimate Man Cave, please let me know. I would love to hear some of your ideas. 

Monday, May 12, 2014

Cupcake Wars

My newest obsession is cupcake shops. I think they are adorable and I love going into different shops to taste cupcakes. The main reason I go into the shops is to test taste the cupcakes, but I also like to go just to see how different each shop is decorated!

I love to watch the cooking channel, and on that channel is a show called Cupcake Wars. There are 4 different people who create cupcakes out of certain flavors given to them. Then 3 judges and 3 challenges later a winner is picked.


Everytime I go into a cupcake shop I like to try the different flavors, I of course turn this into a game! I will take small bites ( like the judges on Cupcake Wars) of my cupcakes and then try my husbands. No cupcake is safe around me. Then I pick a "winner" based on taste mostly, but look as well! I have found that my favorite cupcake (so far) is the birthday cake cupcake from Smallcakes in St. Joe, MO. If you are ever in their neighborhood go in and grab a cupcake, they are delicious.

Birthday Cake Cupcake is on the Right! 
Thankfully I live in a small town where the closest cupcake shop is 45 minutes away or else I would call my cupcake obsession an addiciton.

What are you favorite cupcake shops and what are your favorite flavors,  I'd love to stop by and check them out.


Monday, May 5, 2014

Hanging Herb Planter.

Mothers Day is just around the corner and I am bored with giving the same gifts that I give every year. This year I made my mother a Hanging Herb Planter. I am going to brag on my self a bit, this gift turned out amazing, it looks so much better than I expected it would. Not only did I come up with a creative gift for mothers day but I also got to check off #4 on my May Projects to do list. I loved how it turned out so much, that I made myself one, my sister one for her birthday and two to sell at The Red Apron May 16th & 17th in Liberty, MO.  My good friend Kala was kind enough to let me put it in her area to sell, it will go great with all her creative furniture, check out her blog My Breezy Room.

Here is how I made my Hanging Herb Planter


Tools you will need:
Stain 
chalkboard paint 
3 large mason jars or 4 small mason jars 
3 paint brushes
wooden board 
Herbs of your choosing 
Soil and/or dirt 
clear silicone 


1. Stain your board 


        If you already have the board the size you need all you have to do is stain it. If you don't have a board the size you need you will have to cut one. I had some old boards from redoing the pool room and it was the perfect size for this project.  

Since I am going to hang the Herb Planter outside I thought it would look better with a darker stain, that way if the sun does wash it out and make it look white. 

2. Paint on Chalkboard Tags


        In order to do this I laid out where I wanted my jars and then painted on the squares. I used a kids small paintbrush to paint it on. The one thing about  this chalkboard paint is you have to work quickly, it dries out really fast, which isn't a bad thing for the project. I just eyeballed the squared and did not measure making them all slightly different, but it would be very easy to use a cut-out or measure how big you want to make your chalkboard tags. 

3. Add hanging material to the back


       You need to do this before you add you jars or else it will be a lot harder to add something to hang your planter with. There are a ton of ways to hang the board, I opted to put two hanging teeth on the back one on each side. Since it was a little heavy I wanted to make sure there was alot of support on the back to hold the board. 

4. Adding the Jars. 
        
        You should have already mapped out where you want the jars to lay, add to silicone lines the the side and stick the jar to the board. I suggest leaving it laying flat for at least 30 minutes to make sure the silicone is dry. ** You want your jars to be at an acute angle, I put mine at about a 45 degree angle, I say about because I completely eyeballed it. The reason is you don't want the water to just run out the side when you water your herbs. 

5. Planting the Herbs 

     Once you have the jars on the board and you know the jars wont move fill your jar up half way with soil or dirt.  Then put your herbs in, and add dirt or soil until the roots of the herbs are covered. ( I added dirt on the bottom, placed my herb, then added soil around it and on the top.) You will want to water your plants lightly and let the soil sit, then add a little more it needed. 

Write down the herbs you planted on your chalkboard tabs and you are done. 


I love how this project turned out and remember if you are wanting one ( that you don't have to make yourself) head to the Red Apron in Liberty and pick one up on May 16th or 17th! 

Thursday, April 24, 2014

May Projects

Creating a To-Do list helps me keep on track and focus on one project at a time. When my life gets busy its nice to have a written out plan. I love finishing a project and being able to check it off my list.
Here is my May Projects List

1. Mason Jar Crate
picture from: http://www.pinterest.com/pin/163396292702245078/


I am needing a centerpiece for my kitchen counter and I think this would be perfect. I love the major jars they are very versatile and I can switch up what I put in them!

2.  "Barn" Style Sliding Door

picture from: http://www.pinterest.com/pin/163396292703696253/


I have a screened in back porch, and when we bought the house the screen door was ripped off half way and in bad shape. I love the look over the "Barn" style and I would like to put a door back onto the porch!

3. Address Sign


We use to have a door bell and somehow it just stopped working and if we take doorbell completely off the outside wall there is a huge, ugly hole. I am hoping to make something to cover the hole, have our address numbers, and give our house some cuteness on the outside.

4. Hanging  Herb Garden


I tried having a garden last year and well it didn't make it. I am striving for something a little smaller this year. This would be perfect to have hanging on our screened in porch (with a new door, hopefully). It would be very easy to get to and technically it could be called a garden!


5. Pallet Sports Sign


I have been wanting to show some support for my favorite teams. We are in the process of finishing the game room/man cave (blog coming soon), there are two sliding doors that lead outside to the patio. I think this would look fantastic; I could even make two, one for each door!  Although, I would definitely have to make one that supported "our" teams! Go Chiefs, Florida State, Mizzou and North Carolina. (I included Nate's teams because I don't want him to feel left out in the house)  

I am striving to get all 5 projects done in the month of May but if I get at least 3 done it will be a success. How many projects do you think I will actually finish in the allotted time frame?

If you have ever made any of these projects I would love to hear how they turn out!

** May is almost over and I only completed 2 out of the five projects. I didn't quite make my goal but I do love what I got done! Happy Crafting !

Thanks for checking out my blog!

Friday, April 11, 2014

Window Transformation

I found this old window at an antique store in Cameron, Mo. It has been in my office/craft room for over 4 months now. I have had many ideas of what I wanted to do with it, but then I would change my mind. I was originally going to put a large picture behind it and hang it about our fireplace. I don't know if it just wasn't the right picture or if I just didn't like it anymore but that idea failed, and I put the picture in a regular frame. Then I was going to put burlap behind it and put a vinyl saying on it with hooks, well I decided I didn't like that idea. Then I found a cute pin on pinterest and started working on a new window project!


The Wine Window


WHAT YOU WILL NEED: 


1 window 
2-3 empty wine bottles 
twine 
2-3 nails or hooks 
2-3 stemmed flowers
burlap (optional) 

Step 1:  Find an old window
     It can be any type of window the picture shows one with two middle beams, I am just using one with one middle beam so there will only be two wine bottles.
I kept trying to take the picture with some color in the background but the dogs would just not let me!  

You can paint it and distress it or you could leave as is (what I did).

Step 2:  Drink Wine
    I drank two bottles of wine ( not in one sitting) and I used the same wine so the bottles would be the exact same.
** Keep the corks, there are a ton of great things you can use them for.

After the bottles were empty I washed them out and soaked them in hot water to take off the paper labels.


Step 3: Clothing your Wine Bottles
 I hot glued burlap all around the center of the bottles.


 I found the flowers at Hobby Lobby for 2.99$ each but they were 50% off SCORE! I just cut the leaves off and I had to cut a little off the bottom of the stem so the flower would sit right on top of the bottle.


Step 4:  Decide How to Hang the Wine Bottles
     There are two ways I could think of to do this

  1. You could nail the twine down  ( what I chose to do) 
  2. You could hang a hook and hook the twine 

I found these hooks you can just screw into the wood. 
I then took the twine and looped it through the hook. 

I made a double knot at the rim of the bottle top

Step 5:  Add Your Flowers and Hang


Sorry about the plain room and walls the room was under construction last week and we just finished it up!

I have not quite decided where I want to hang it but I am very excite to get it hung up, I absolutely love the "wine window" and I think it turned out great!